
ACRYLIC TEMPLATES & CRAFT AIDES
Shotgun Shell Bag Acrylic Template Set
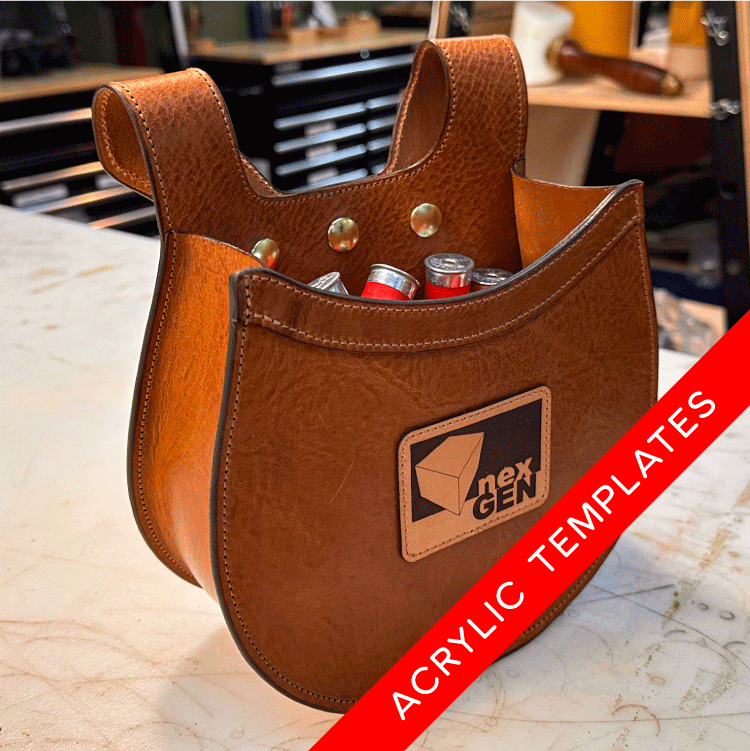
Create a practical leather shell bag for clay shooting, hunting, and other shotgun sports with a durable acrylic template set designed for accurate cutting and repeatable construction.
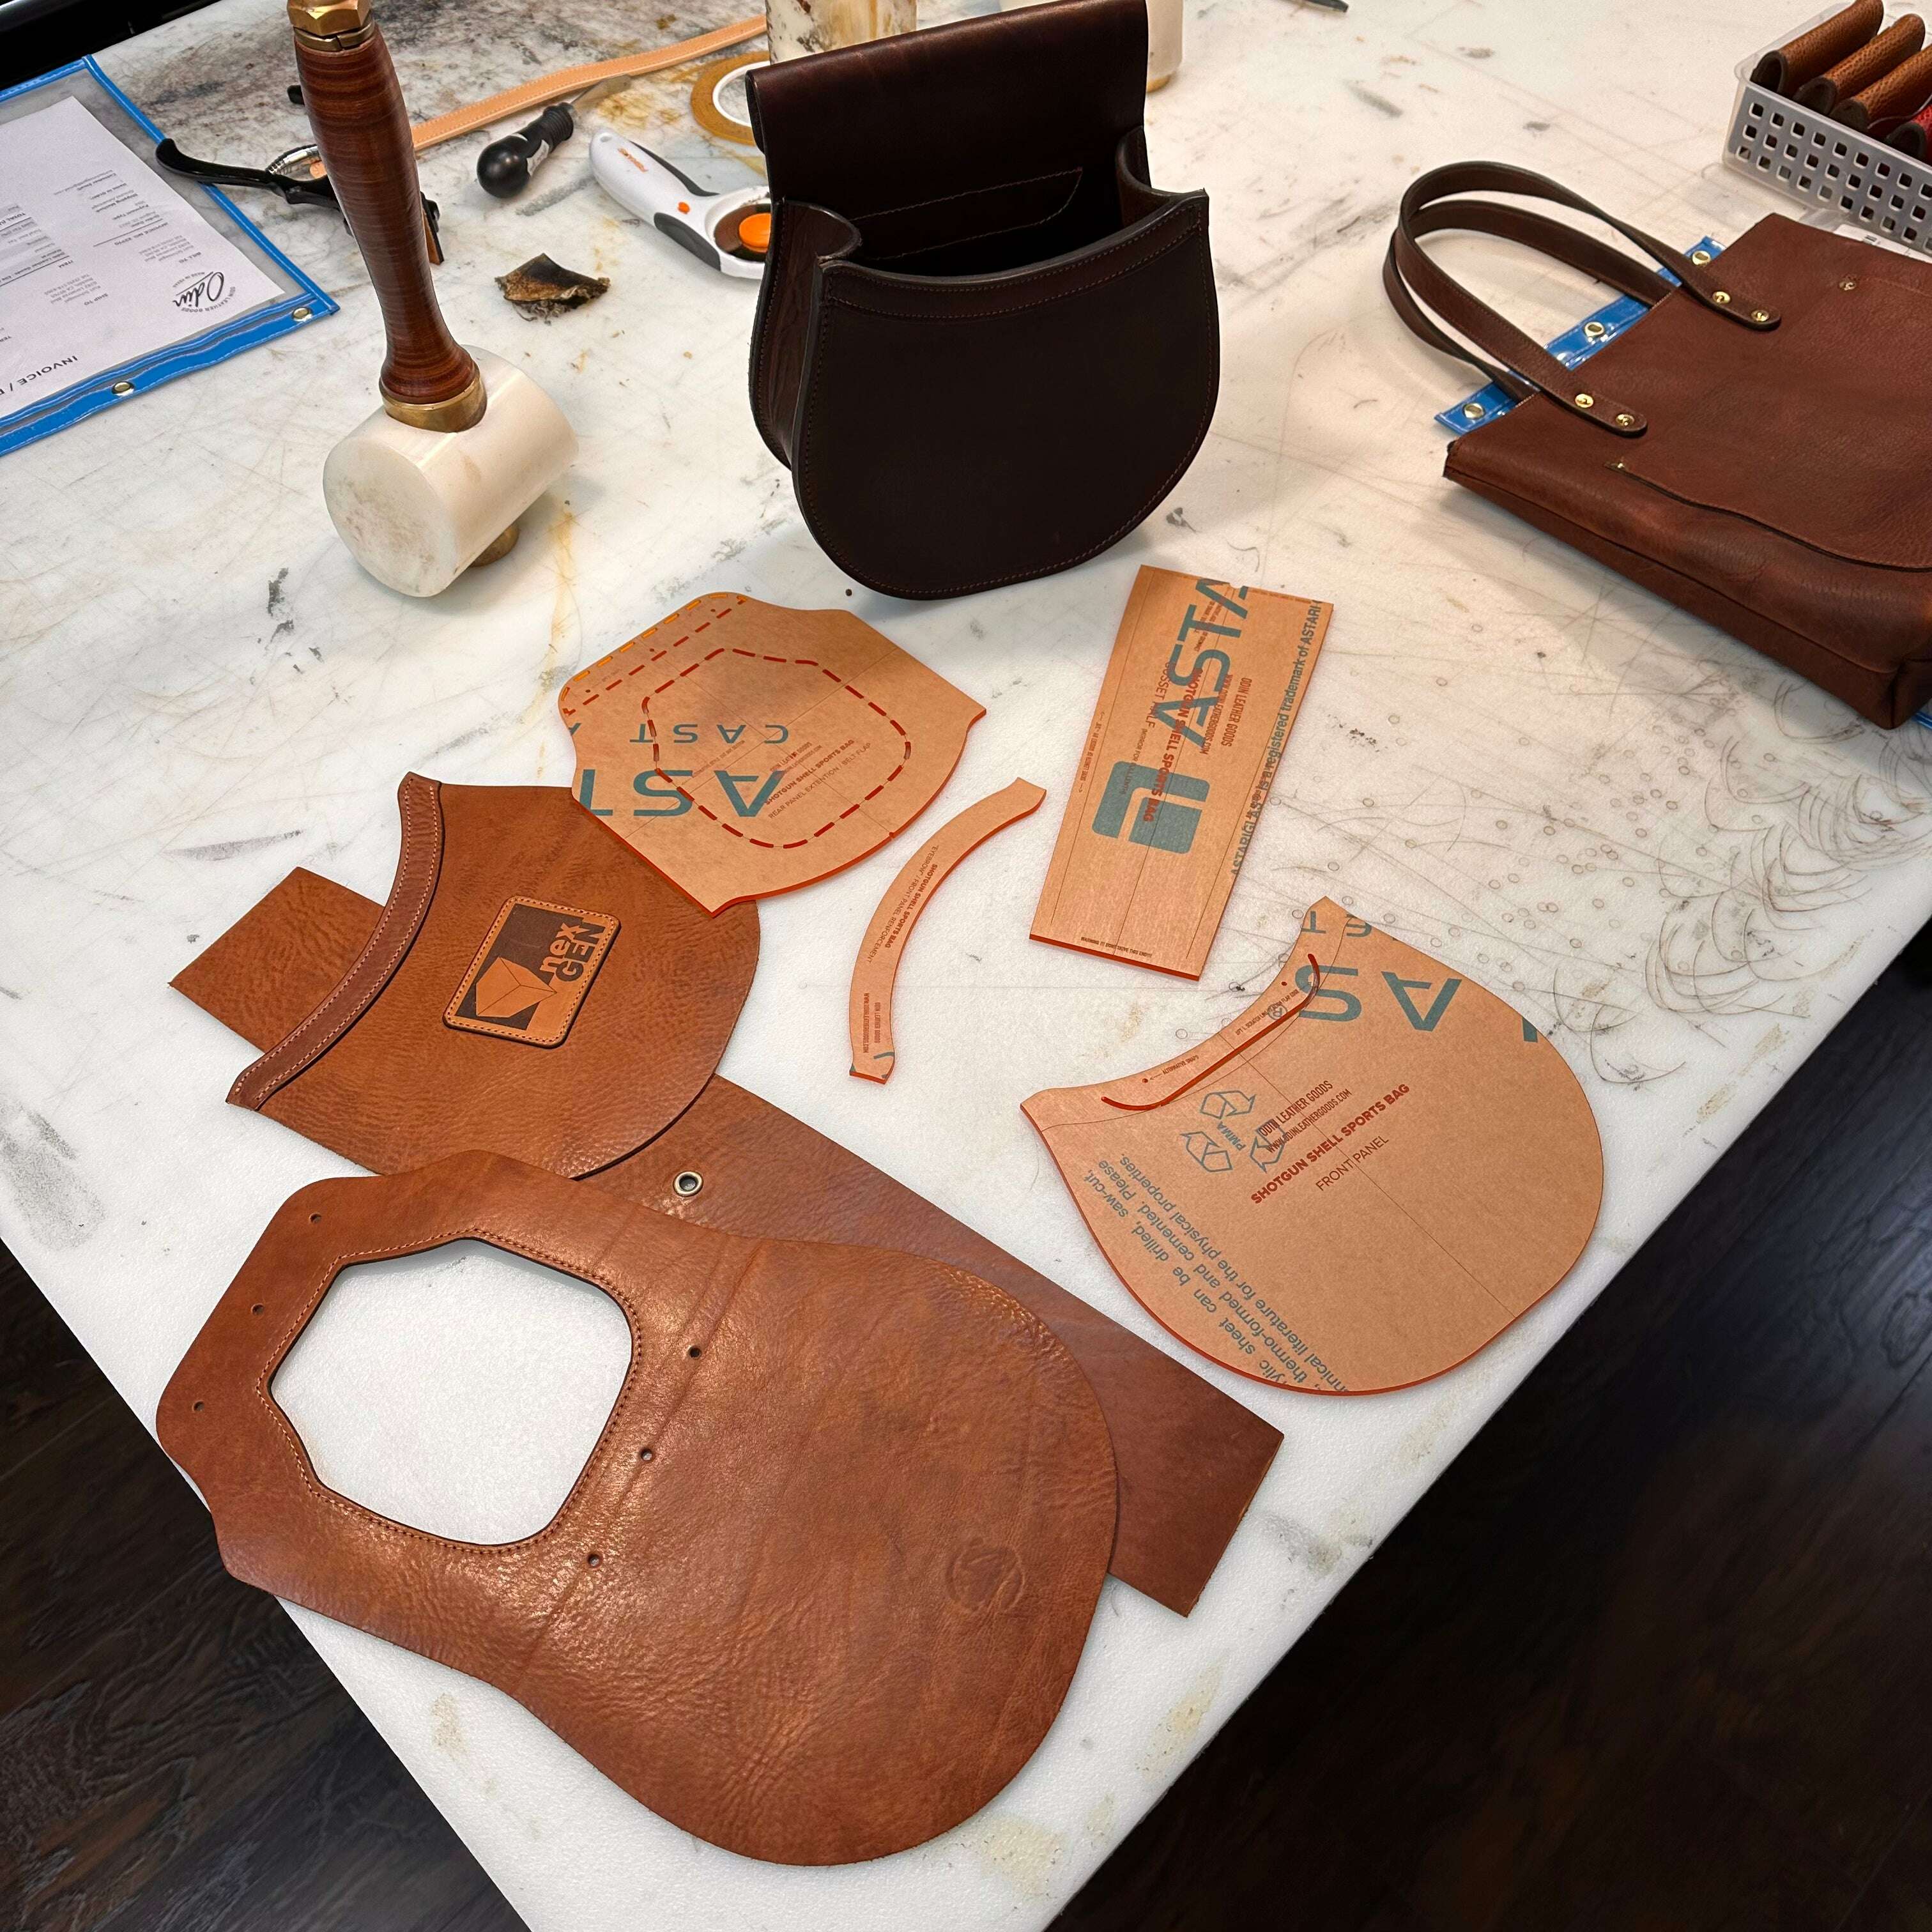
The Shotgun Shell Bag Acrylic Template Set includes the four primary pattern pieces needed to make a simple, single-compartment shell bag. The finished design provides convenient access to ammunition while giving makers a versatile foundation that can be customized through leather selection, construction methods, hardware, and decorative treatments.
Use the templates with a pencil, pen, scratch awl, or other leather-marking tool to transfer the pattern onto your material. The durable acrylic edges may also be carefully used alongside sharp leather knives and cutting tools.
What’s Included
This four-piece acrylic template set includes the primary components needed to construct the shell bag.
Relevant information is permanently laser-engraved directly onto the acrylic where applicable, including:
- Pattern-piece identification
- Alignment references
- Hole-punch locations and sizes
- Stitching references
- Fold or assembly locations
- Skiving guidance
- Hardware-placement references
- Construction notes
Review all engraved markings before cutting, punching, skiving, gluing, stitching, or installing hardware.
Designed for Shotgun Sports
The finished bag is suited for carrying loose shotgun shells during activities such as:
- Sporting clays
- Skeet shooting
- Trap shooting
- Bird hunting
- Range practice
- Shotgun competitions
The open, single-compartment design allows the wearer to reach shells quickly while keeping them conveniently positioned at the hip.
The maker is responsible for selecting an appropriate belt attachment, closure, hardware, and construction method for the intended activity.
Hand Stitch or Machine Sew
The shell bag can be constructed using either:
- Traditional hand saddle stitching
- A leather-capable sewing machine
Choose the method that best fits your tools, experience, production needs, and desired finished appearance.
When machine sewing, account for presser-foot clearance and the combined thickness at gussets, folded areas, and attachment points. When hand stitching, select a hole style, stitch spacing, thread size, and needle combination suitable for the leather being used.
Choosing Your Leather
The pattern can be used with a range of vegetable-tanned and chrome-tanned leathers.
Suitable options may include:
- Vegetable-tanned tooling leather
- English bridle leather
- Harness leather
- Saddle skirting
- Firm latigo
- Oil-tanned leather
- Firm chrome-tanned leather
When selecting materials, consider:
- The firmness and temper of the hide
- The weight of the shells being carried
- Whether the bag will be lined
- The combined thickness at seams and attachment points
- Whether the seams will be exposed or turned
- The intended edge-finishing method
- Whether the bag will be hand stitched or machine sewn
- The amount of structure desired in the finished bag
Firmer vegetable-tanned leather can create a structured shell bag and provides a strong surface for tooling, carving, stamping, dyeing, and burnished edges.
Softer leather can create a more relaxed bag but may require lining or reinforcement around the opening, belt attachment, and other high-stress areas.
Customize the Construction
The straightforward design provides a useful foundation for developing your own shell-bag variations.
Possible construction options include:
- Exposed or turned seams
- Lined or unlined construction
- Reinforced bag openings
- Fixed belt loops
- Removable belt attachments
- Alternative flap or closure designs
- Contrasting gussets and body panels
- Additional dividers or pockets
Any modification may affect the assembly order, material thickness, stitch allowance, and finished dimensions. Test custom variations before beginning production.
Make the Design Your Own
The broad leather panels provide room for decorative and personalized details such as:
- Hand tooling and carving
- Basket or geometric stamping
- Laser engraving
- Names, initials, or monograms
- Shooting-club or team logos
- Ranch or family marks
- Leather logo patches
- Exotic leather inlays
- Contrasting leather panels
- Decorative stitching
- Custom hardware
- Painted or burnished edges
The template establishes the primary pattern geometry while leaving the final leather, attachment method, decoration, and finishing choices to the maker.
Designed for Repeatable Results
The rigid acrylic templates help you:
- Maintain consistent component shapes
- Align body and supporting pieces accurately
- Arrange the pattern efficiently on the hide
- See grain, scars, color variation, and surface character beneath the tinted acrylic
- Avoid undesirable areas before cutting
- Transfer important construction references
- Reduce repeated measuring and pattern redrawing
- Reproduce the bag for personal use, customer orders, or small-batch production
Built for Daily Workshop Use
Each Odin Leather Goods acrylic template is:
- Laser-cut from durable 1/8-inch tinted cast acrylic
- Built for frequent use in hobby and production workshops
- Transparent enough to see the leather beneath the template
- Suitable for use with pencils, pens, scratch awls, and other leather-marking tools
- Durable enough to carefully use alongside sharp leatherworking knives and cutting tools
- Permanently engraved with relevant notes and construction markings
- Designed and made in Texas by working leathercrafters
Unlike paper or cardstock patterns, the rigid acrylic will not easily bend, distort, tear, or wear out through repeated use.
Acrylic Color
Due to changing material availability and supply lines, your template may be made from green-, blue-, or orange-tinted acrylic. Acrylic color is not selectable and may vary from the product photographs.
The color does not affect the template’s dimensions, durability, markings, or functionality.
Important Notes
This listing is for the four-piece acrylic template set only. Leather, lining, thread, adhesives, hardware, belt attachments, tools, ammunition, finished shell bags, and other supplies are not included.
The acrylic may arrive with a removable protective film on one or both sides. Remove the film before using the templates.
The maker is responsible for selecting materials, hardware, attachments, and construction methods appropriate for the intended application. Inspect the completed bag and all attachment points before use.
Follow all applicable firearm and ammunition safety practices. Keep firearms unloaded and safely secured while fitting, adjusting, or testing shooting accessories.
Choose options